
Frequently Asked Questions
How long will the review process take?
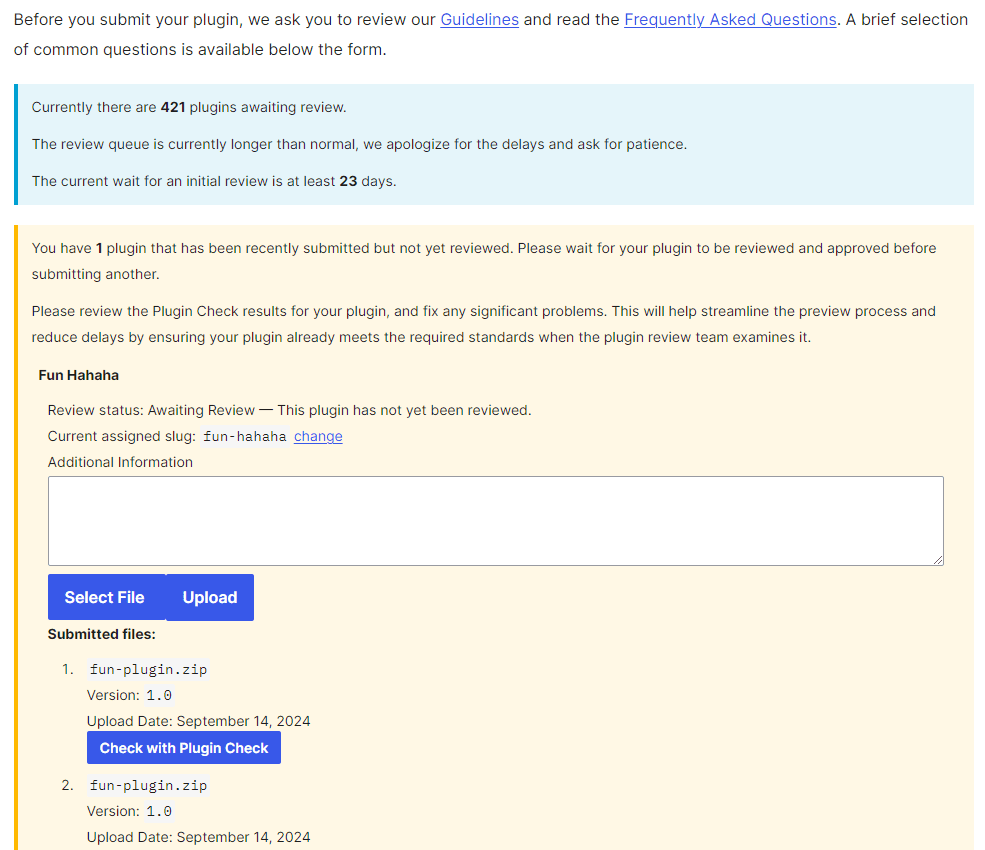
This is in the Developer FAQ. It takes anywhere between 1 and 10 days. We attempt to review all plugins within 5 business days of submission, but the process takes as long as it takes, depending on the complexity of your plugin.


WordPress plugins are like magical enhancements for your website. They can turn a basic site into a feature-rich powerhouse. But let’s be honest: sometimes the process of creating one can feel more like a grueling task than a fun adventure. Fear not! In this article, we’re going to inject some humor into the process and turn plugin development into a playful experience.
Step 1: The Idea – Fun Starts Here!
First things first: you need an idea for your plugin. It could be anything from a quirky feature to a tool that solves a peculiar problem. Remember, the more fun the idea, the more fun the development will be!
Example: How about a plugin that adds a “Punny Comment of the Day” widget to your site? Imagine visitors chuckling at puns every time they check your blog!
Step 2: Setting Up Your Plugin – The Easy Part
Let’s get started by setting up your plugin’s basic structure. Don’t worry; it’s easier than it sounds.
- Create a Plugin Folder: Go to your WordPress installation directory, navigate to
wp-content/plugins/, and create a new folder for your plugin. Name it something fun, likepunny-comment-widget. - Create the Main Plugin File: Inside your plugin folder, create a file named
punny-comment-widget.php. This will be the main file for your plugin. - Add Plugin Header Information: Open
punny-comment-widget.phpand add the following code at the top:
Step 3: Writing the Code – Let’s Have Some Fun!
Here’s where the magic happens. We’ll create a simple widget that displays a random pun each day.
- Register the Widget
Step 4: Testing Your Plugin – Time for Some Giggles
Activate your plugin from the WordPress admin panel (Plugins > Installed Plugins) and then add the widget to your sidebar (Appearance > Widgets). You should see your “Punny Comment Widget” in action. Refresh your site and enjoy the chuckles!
Step 5: Debugging and Refining – Keep the Fun Alive
While your plugin might work perfectly on the first try, don’t be surprised if you encounter some bugs. The key is to approach debugging with a sense of humor. Remember, even the best coders make mistakes.
- Check Error Logs: WordPress will often log errors to
wp-content/debug.logif you have debugging enabled. - Ask for Help: Don’t be afraid to reach out to the WordPress community for support.
Step 6: Share and Enjoy – Spread the Laughter
Once you’re satisfied with your plugin, share it with the world. You can even create a fun promo video showcasing your plugin’s features. The more you share, the more people will enjoy your playful addition to the WordPress ecosystem.
Conclusion
Creating a WordPress plugin doesn’t have to be a dry, technical task. With a pinch of creativity and a dash of humor, you can turn plugin development into a fun and rewarding experience. So, grab your favorite pun and get coding!
Happy plugin-ing, and remember: in the world of WordPress, there’s always room for a good laugh!